 EMBER
EMBER
OpenShift 4.x and Ember CSI
February 16, 2021
Deploying CSI plugins is a non trivial task, and for Ember-CSI this installation would be even more complex, since there are many supported backends we need to find out what are the right configuration options for ours before we can do the deployment.
In Kubernetes installation is usually done using manifests or Helm charts, but for OpenShift clusters CSI plugins can have their own operator to facilitate the installation process.
In this article we’ll show how easy it is to use the Ember-CSI operator to add our storage solution to OpenShift and also provide an easy mechanism to deploy a POC OpenShift 4.5 cluster with an LVM backend.
Requirements
In order to deploy Ember-CSI using its operator we need an OpenShift cluster.
If we don’t have one, we can deploy a local development cluster using CodeReady Containers as explained in the next section, and if we have one we can skip directly to the Install the Operator section.
Deploying CodeReady Containers requires:
- 4 virtual CPUs (vCPUs)
- 9 GB of free memory
- 35 GB of storage space
When using our own OpenShift cluster please make sure that iscsid and multipathd services are running on the hosts.
OpenShift Cluster
If we are going to use our own OpenShift cluster we can skip this section.
CodeReady Containers is the quickest way to get started building OpenShift clusters. It is designed to run on a local computer to simplify setup and testing, and emulate the cloud development environment locally with all of the tools needed to develop container-based applications.
An OpenShift cluster deployed using CodeReady Containers (CRC) won’t give us everything we need for CSI plugins out of the box, since the tool is meant for application development, and some extra steps are necessary.
Instead of explaining all these steps we will be using a tool we use to run OpenShift CSI end-to-end tests: crc-tests.
This tool will make sure that the CRC OpenShift cluster deployment is ready for CSI plugins, and getting our cluster ready is as easy as:
$ git clone https://github.com/embercsi/crc-tests
$ cd crc-tests
$ ./start.sh run
This last step will take a while to complete, but once it’s done we should see something like:
If you are running this on a different host/VM, you can access the web console by:
- Setting your browser’s proxy to this host’s IP and port 8888
- Going to https://console-openshift-console.apps-crc.testing
- Using below credentials (kubeadmin should be entered as kube:admin)
To login as a regular user, run ‘oc login -u developer -p developer https://api.crc.testing:6443'.
To login as an admin, run ‘oc login -u kubeadmin -p HqC3I-wgtiB-q7qCf-KEsuK https://api.crc.testing:6443'
To access the cluster from the command line you can run:
$ eval /home/vagrant/crc-linux/crc oc-env
$ ./start.sh login
Install the Operator
There are multiple ways to install the operator. We can use the start.sh script, use our own manifest, or use the OpenShift’s web console.
If we have used the start.sh script to deploy an OpenShift cluster we could use the same script to deploy the operator:
$ ./start operatorIf we are using our own cluster, or if we don’t want to rely on the start.sh script, we will deploy it using OpenShift’s web console.
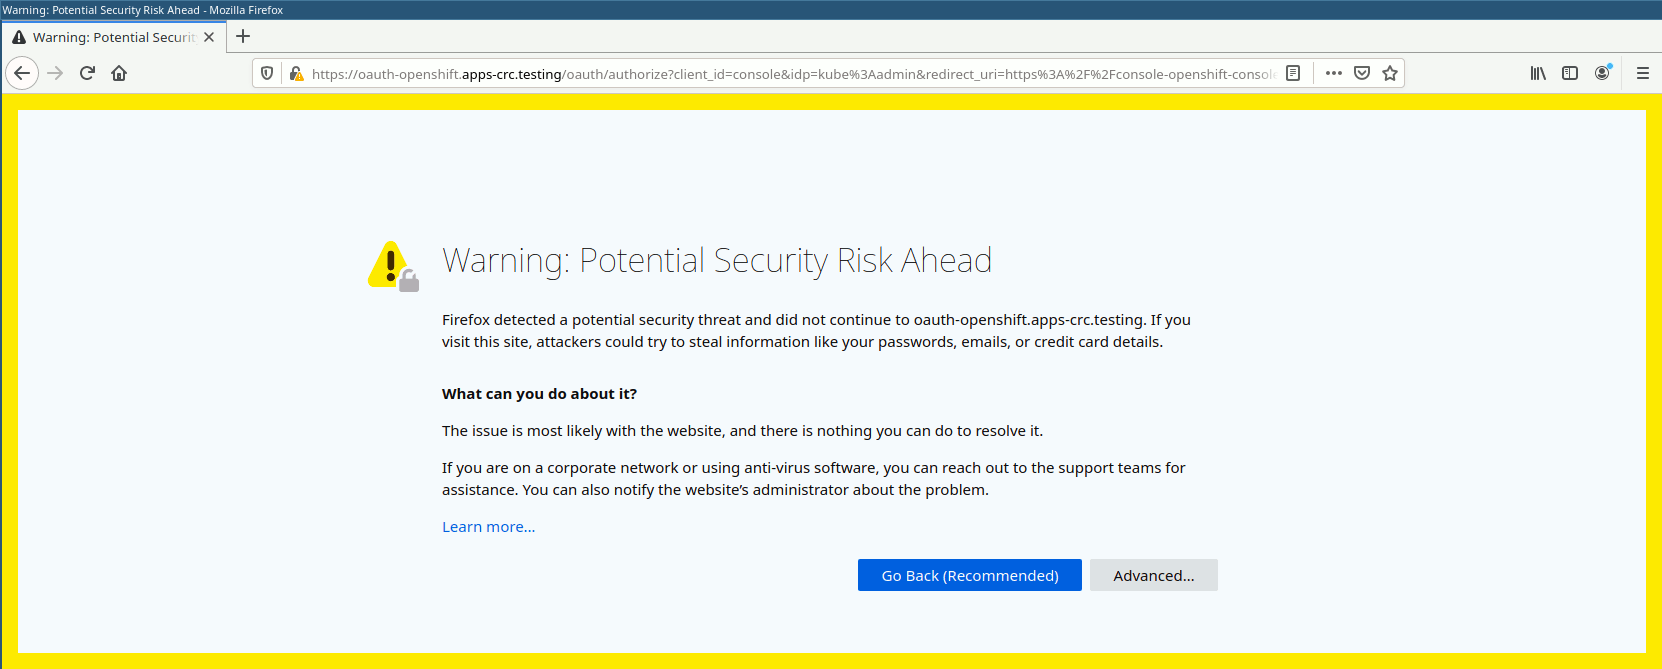
Note: If we used start.sh to deploy our cluster we must set our browser’s proxy to port 8888 and the IP of the node where we run the script and go to https://console-openshift-console.apps-crc.testing to log in. We’ll also see a security warning we’ll have to accept by clicking on Advanced… and then on Accept the Risk and Continue.
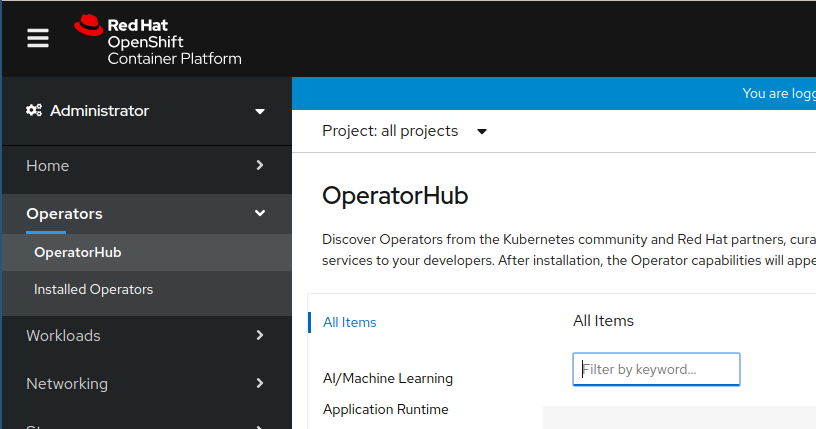
After logging in the OpenShift console as an administrator we go to the OperatorHub:
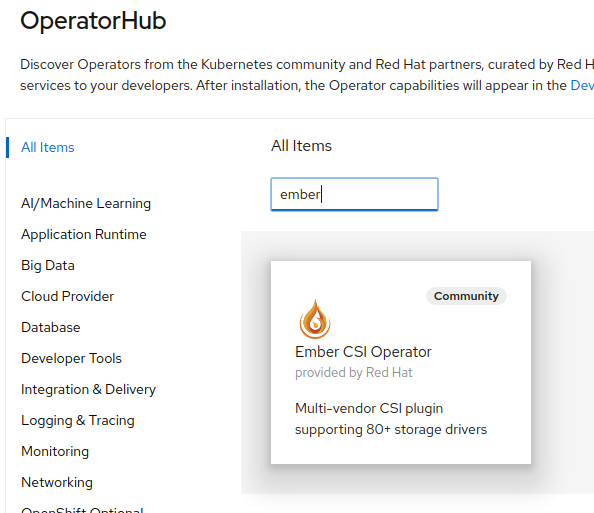
Then we search for the Ember-CSI operator and click on it:
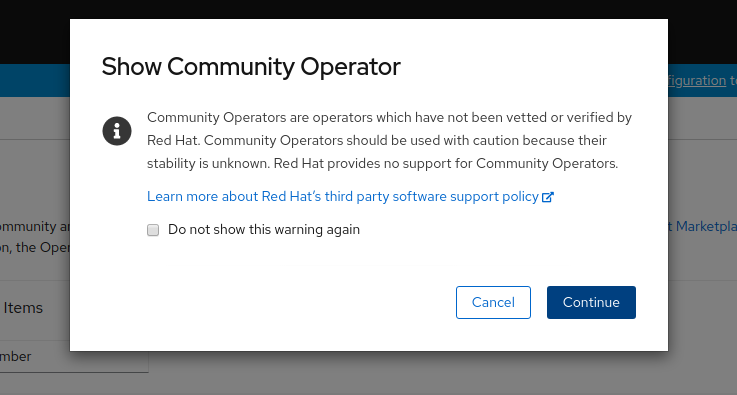
If we are installing the Community Operator we’ll be required to confirm that we understand the implications. We click Continue:
And we are presented with the Ember-CSI Operator page, where we click Install:
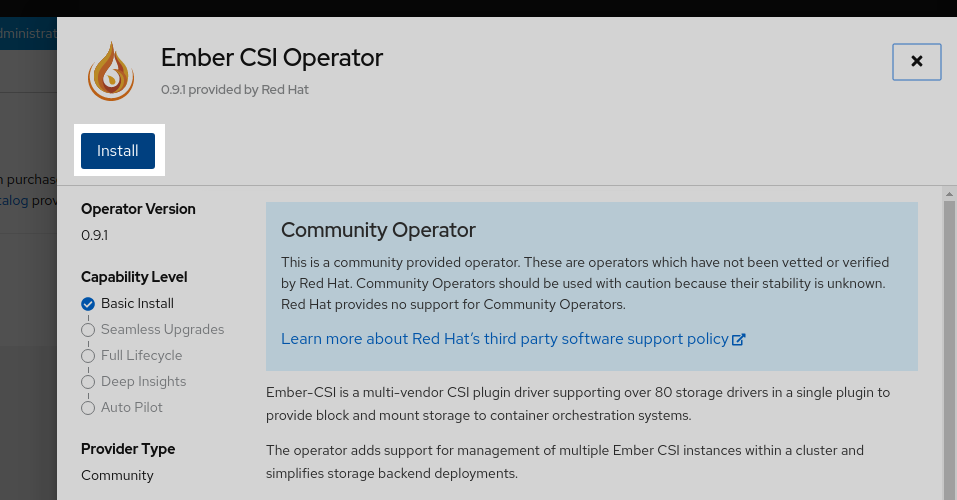
And then Install again:
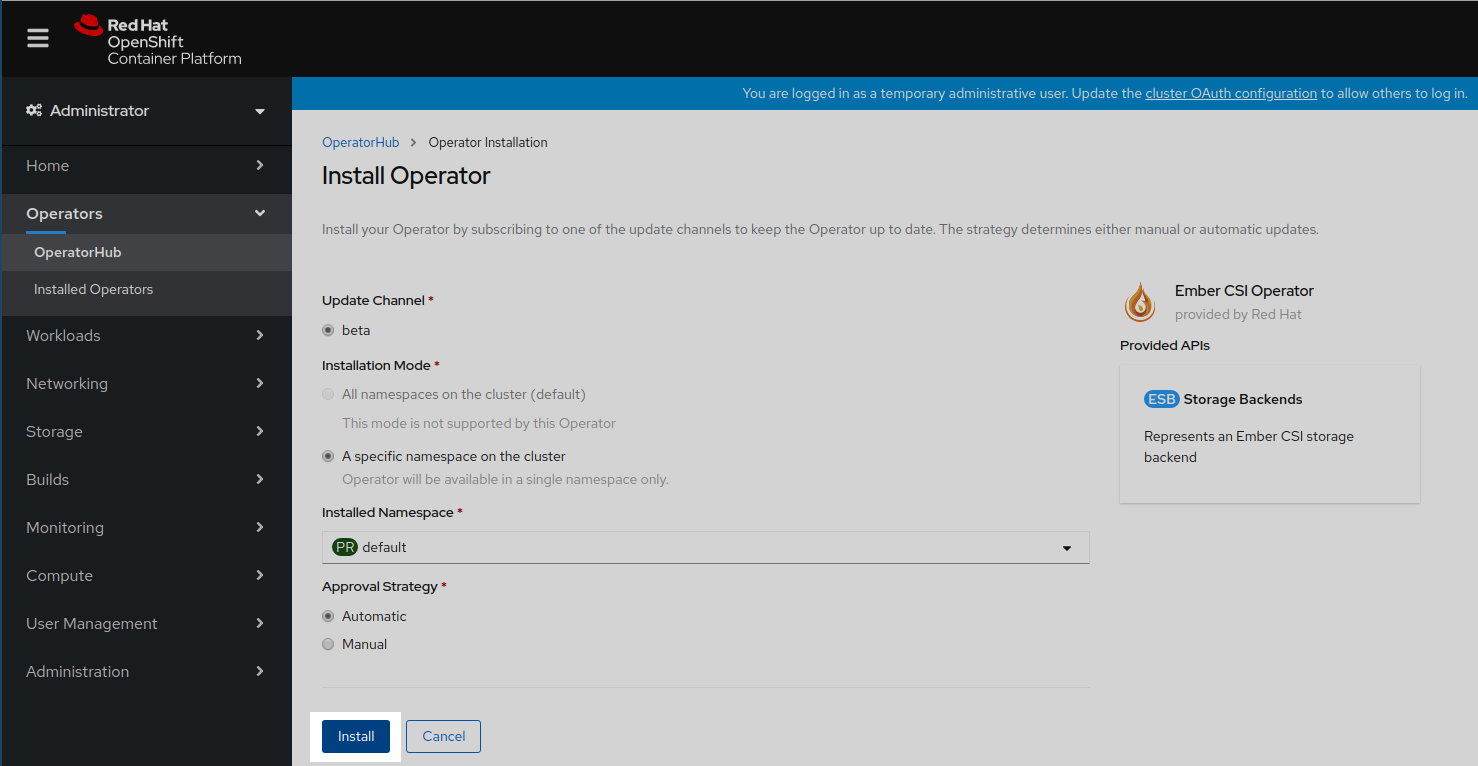
This will trigger the download and execution of the operator container image. It will take a couple of seconds, and in the meantime we’ll see that the installation is in progress and maybe a couple of weird entries saying at the beginning:

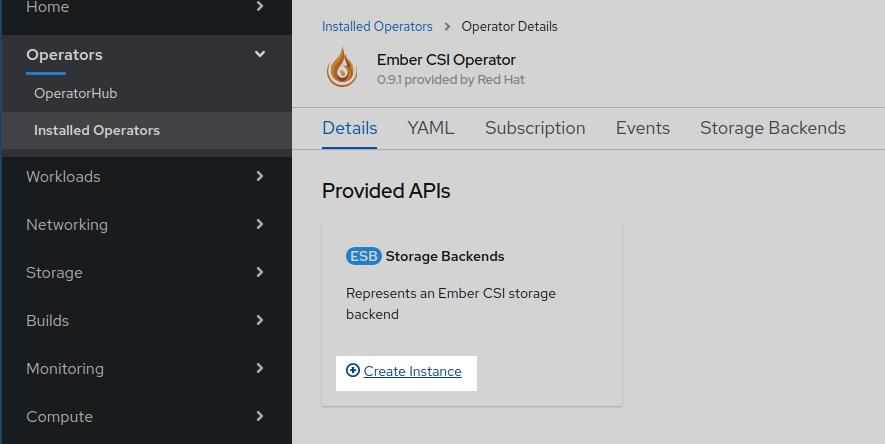
Once the operator reaches the Succeeded status we click on it:

Deploy the Backend
If we don’t have a proper storage backend, or we don’t want to use it for these tests, and we have deployed the OpenStack cluster using the start.sh script, we can use the LVM VG that was provisioned on the VM by the script. We can deploy Ember-CSI with this backend using the web console or the script:
$ ./start.sh driverTo deploy the Ember-CSI using the OpenShift web console we need to create a new Storage Backend instance with the operator:
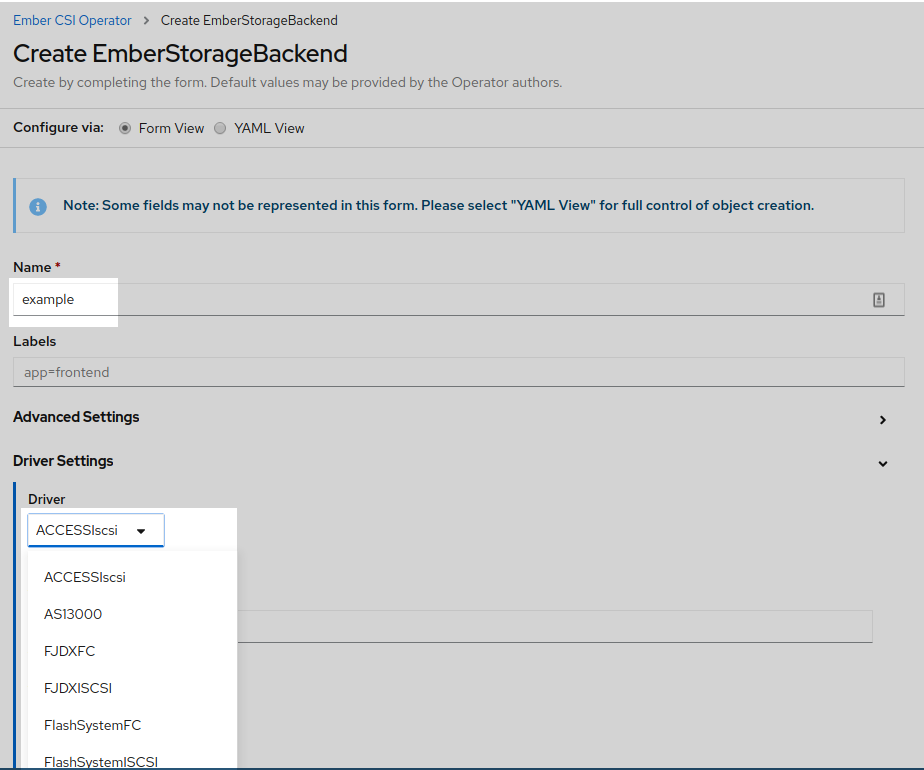
We could configure the backend using YAML, but then we would have to know the exact configuration options available to our backend, which is inconvenient, and that’s why since OpenShift 4.5 the default is to use the form provided by the operator.
In the form we should change the name field from default to a unique and meaningful name to identify this backend. Then go to the Driver dropdown and select the name of our storage backend. After selecting the appropriate driver, the relevant configuration options for the selected driver will be displayed.
Note: If we deployed the cluster with start.sh and we want to manually use the LVM VG we need to select the appropriate Driver inside the Driver Settings section which is LVMVolume, then set just two of the driver’s options: Volume Group to ember-volumes and Target Helper to lioadm.
After setting the configuration options we click Create at the botom of the page:
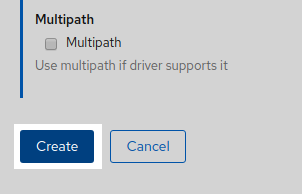
And a new EmberStorageBackend entity will be created. Don’t wait for the Status to change, since it won’t:
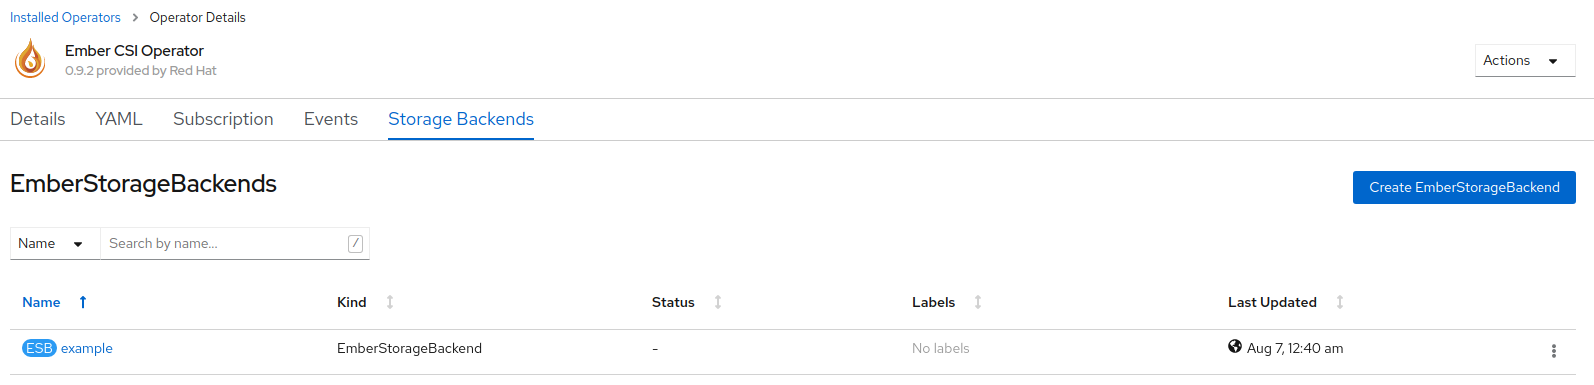
We can see that the deployment is complete going to Stateful Sets, Daemon Sets, and Replica Sets pages in the Workloads section to see that the deployed pods are running:


Note: If there are issues in the new Stateful, Daemon, or Replica Sets we can look into the Ember-CSI troubleshooting guide for details on how to look into installation issues, or contact the team on Twitter, IRC, Google groups, or GitHub issues.
We can also check that a new Storage Class has been created in Storage > Storage Classes. The name of the new class will be example.ember-csi.io where example will be the name we gave to the Storage Backend in the form:
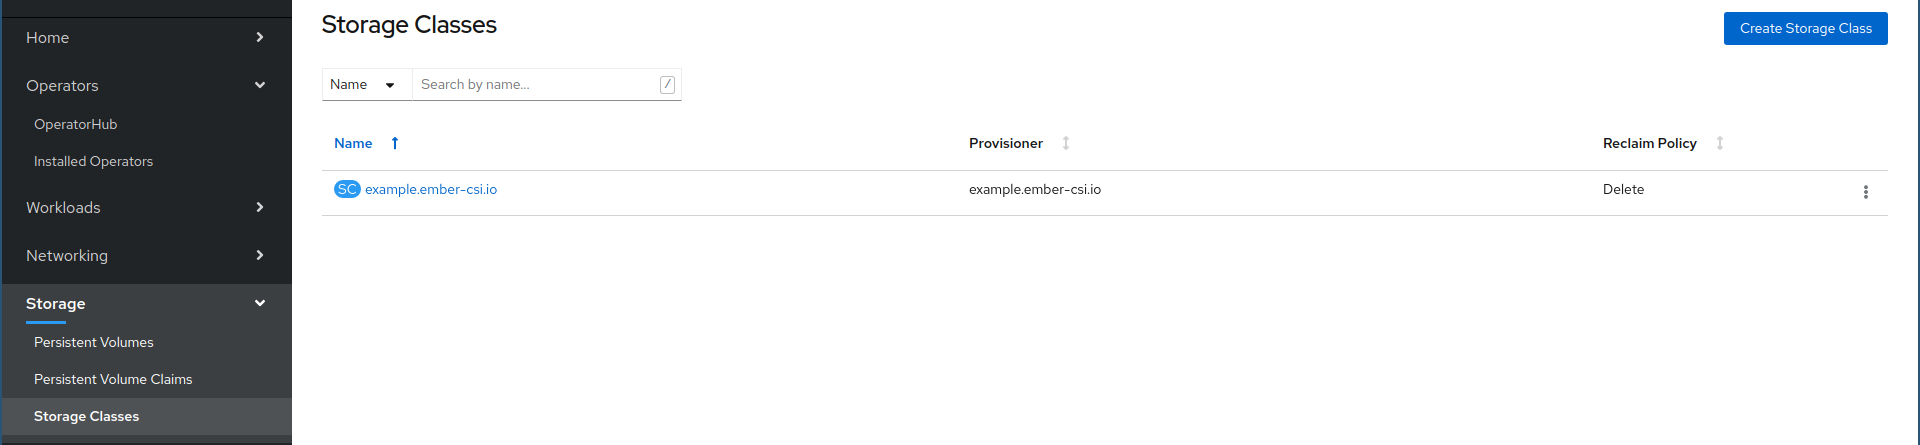
We can set this Storage Class as the default class by going to its actions and selecting Edit Annotations:

And then adding key storageclass.kubernetes.io/is-default-class with the value of true.
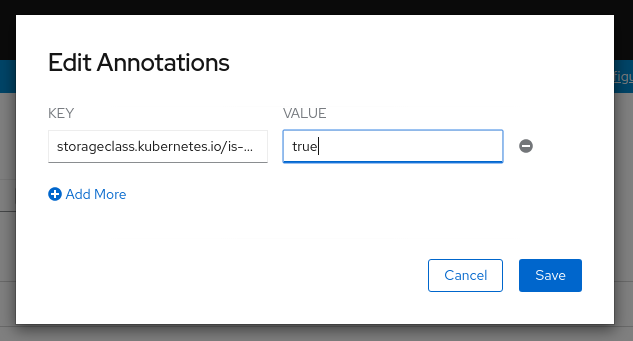
Warning: If we already have a default and we want to change it to this one, we’ll need to modify the current default by removing the annotation or setting it to false.
Next steps
If we have configured everything right we’ll now be able to use our storage solution into OpenShift using the new StorageClass that was created by the operator in our PersistenceVolumeClaims (PVC).
Detailing how to use storage in OpenShift is out of the scope of this article, but there is plenty information on Ember-CSI’s usage documentation page as well as the OpenShift’s persistence storage page.